


AI Flipbook Maker is a comprehensive digital authoring and publishing platform designed to transform ideas into interactive digital publications. Whether you are an author, educator, marketer, or hobbyist, this tool allows you to create page-turning flipbooks and curate them on virtual bookshelves. By combining a Markdown-based editor with advanced AI capabilities, users can generate content, design covers, and share professional-grade libraries via a single link.

Key Concepts
Before diving into the creation process, it is essential to understand the core components and terminology used within the AI Flipbook Maker environment.
- Drive View: The central hub of the application. This file-explorer interface allows you to manage folders, books, and bookshelves, ensuring your library remains organized in the cloud.
- The Book Editor: A dual-pane interface where creation happens. You write content using Markdown on the left while viewing a live, formatted preview on the right.
- AI Assistant: The intelligent engine integrated into the tool. It can generate full book outlines, write story content, and create custom illustrations based on simple text prompts.
- Markdown: A lightweight text formatting language used for writing book content. It uses simple symbols (like asterisks for bold text) to format words without complex menus.
- Virtual Bookshelf: A customizable digital container that displays collections of your books. It supports different visual styles and layout strategies (Fixed or Responsive).
Step 1: Generating a Book with AI
The fastest way to get started is by leveraging the AI Assistant to build a foundation for your book. This creates a complete draft that you can refine later.
- From the Drive View, click the New Book button in the top-right toolbar.
- Enter a name for your project and click Create to enter the Book Editor.
- Locate and click the Generate Book button in the header to open the AI Assistant.
- Complete the prompt fields by specifying the Topic, target Audience, and desired Tone.
- Click Generate Outline to see the structure, then select Generate Full Book. The AI will write the text and initiate the generation of image prompts.
- Close the assistant once the text appears. You will receive notifications as the AI generates illustrations in the background.
Step 2: Manual Authoring and Editing
For those who prefer full control, or for editing AI-generated content, the Manual Editor offers precision tools. The editor uses a split-screen view: Markdown input on the left and a visual book preview on the right.
Using Markdown
Text formatting is handled via Markdown syntax. For example, creating a header requires typing a hash symbol (e.g., # Chapter 1), and bold text is wrapped in double asterisks (e.g., **bold text**).
Managing Pages
Unlike standard word processors, you must explicitly define where a page ends. To create a page break, type three dashes (---) on a new line. The preview on the right will immediately reflect this by moving subsequent text to a new page.
Inline AI Assistance
If you encounter writer’s block or need a specific image while editing manually:
- Text Generation: Place your cursor where you need content and invoke the AI to generate a paragraph.
- Image Generation: Click the AI Image button above the text area. Type a prompt, such as “A vintage clock tower,” and click Go. The tool will insert the resulting image URL directly into your Markdown code.
Step 3: Customizing Design and Layout
Once your content is written, you can refine the visual presentation of the book without needing external design software.
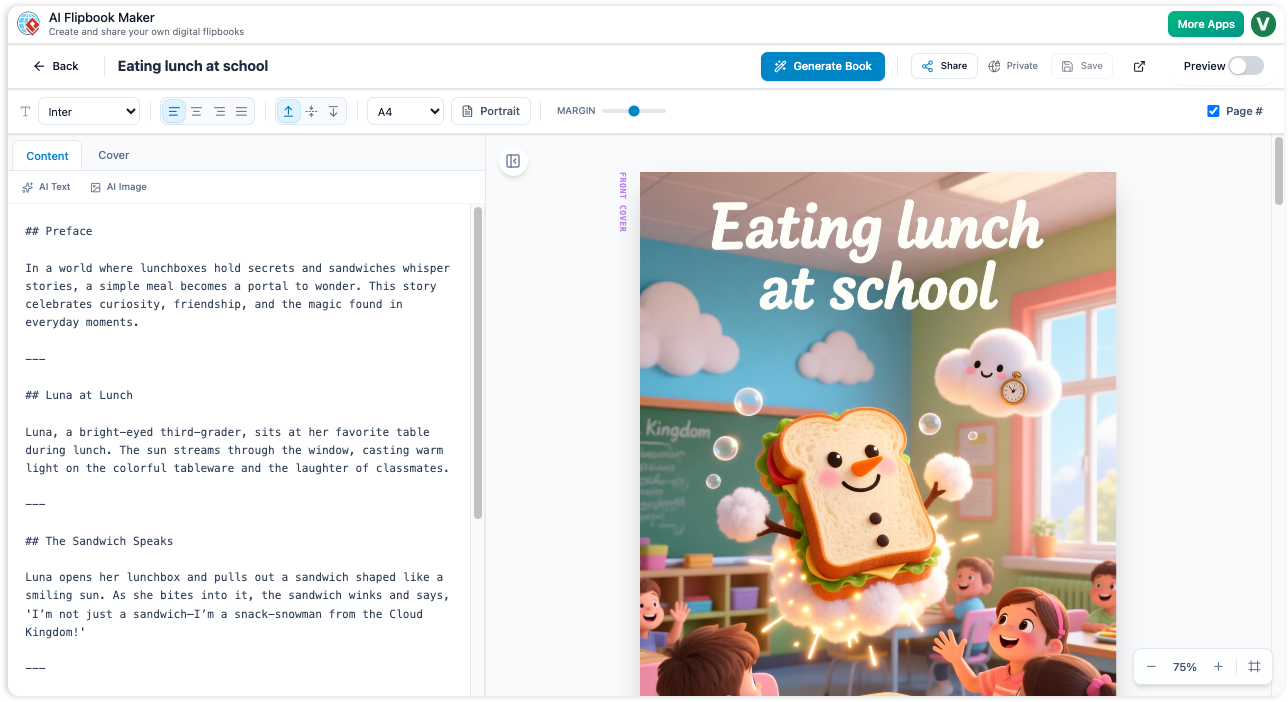
- Cover Design: Navigate to the Cover tab in the left panel. You can manually set background colors and titles, or use the AI generator to design a unique cover art based on your book’s theme.
- Page Settings: Use the Toolbar located below the main header to adjust global settings such as Paper Size and Font Family.
- Previewing: Use the “Fit Page” zoom option in the preview panel to verify your layout looks correct before saving.
Step 4: Curating a Virtual Bookshelf
To share a collection of work rather than a single document, you can arrange your books on a virtual bookshelf.
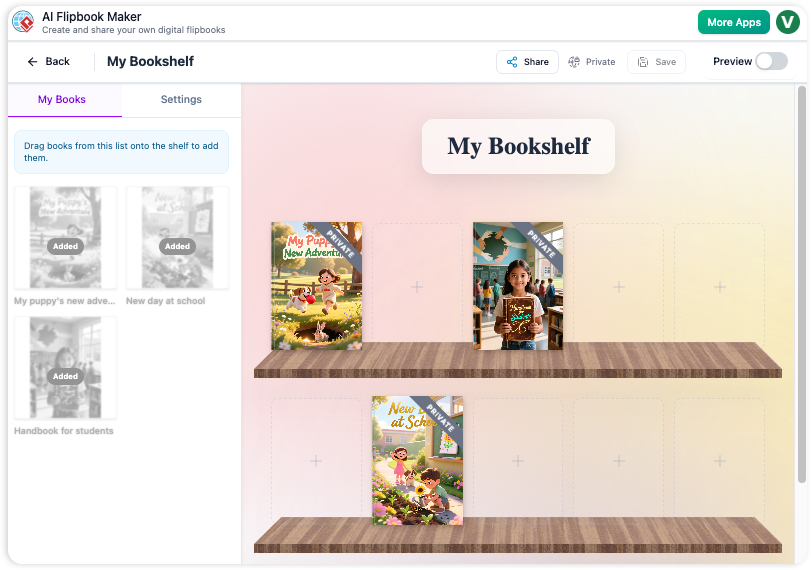
- Return to the Drive View and select New Bookshelf.
- The screen will display an empty shelf on the right and your library on the left under the My Books tab.
- Drag and drop books from the list onto the shelf slots.
- Switch to the Settings tab to customize the aesthetic. You can select materials like “Classic Wood,” choose a background environment, and define the Layout Strategy. A “Responsive” strategy is recommended for ensuring books flow naturally on mobile and desktop screens.
- Click Save to finalize the arrangement.
Step 5: Sharing and Exporting
AI Flipbook Maker provides flexible options for distributing your work to an audience.
Public Sharing
To give others read-only access, click the Share button located in the header of the Book or Bookshelf editor. This generates a public URL. You can revoke access at any time by un-sharing the project.
Exporting to Flipbook
To create a dynamic, page-turning experience hosted online:
- Open your book in the Book Editor.
- Click the Export button (the box icon with an outward arrow).
- Select Export to VP Online.
- The system will convert your content into a PDF and upload it. Once complete, follow the prompt to Visual Paradigm Online to view and manage your interactive flipbook.
Tips for Success
- Iterative Design: Use the AI generation as a starting draft. Spend time refining the text and generating specific images to align the content with your unique voice.
- Organized Library: Utilize folders in the Drive View to separate drafts from published works.
- Visual Consistency: When populating a bookshelf, ensure your book covers have a consistent style to create a professional-looking gallery.